


Sliding closet doors are a popular choice for many homeowners due to their space-saving and aesthetic appeal. However, there may come a time when you need to remove them for maintenance, replacement, or simply to change the look of your space. In this in-depth guide, we will walk you through the step-by-step process of removing sliding closet doors. Whether you’re a DIY enthusiast or a homeowner looking to make a change, follow these detailed instructions to ensure a smooth and hassle-free removal.
Step 1: Gather the Necessary Tools and Materials
Before you start the removal process, it’s crucial to gather all the tools and materials you’ll need. This will save you time and make the entire process more efficient. Here’s a list of items you’ll likely need:
- Screwdriver (Phillips and flathead)
- Drill with screwdriver bit
- Putty knife
- Utility knife
- Hammer
- Pry bar
- Masking tape
- Measuring tape
- Work gloves
- Safety glasses
Having these tools on hand will ensure that you can tackle any challenges that may arise during the removal process.
Step 2: Identify the Type of Sliding Closet Doors
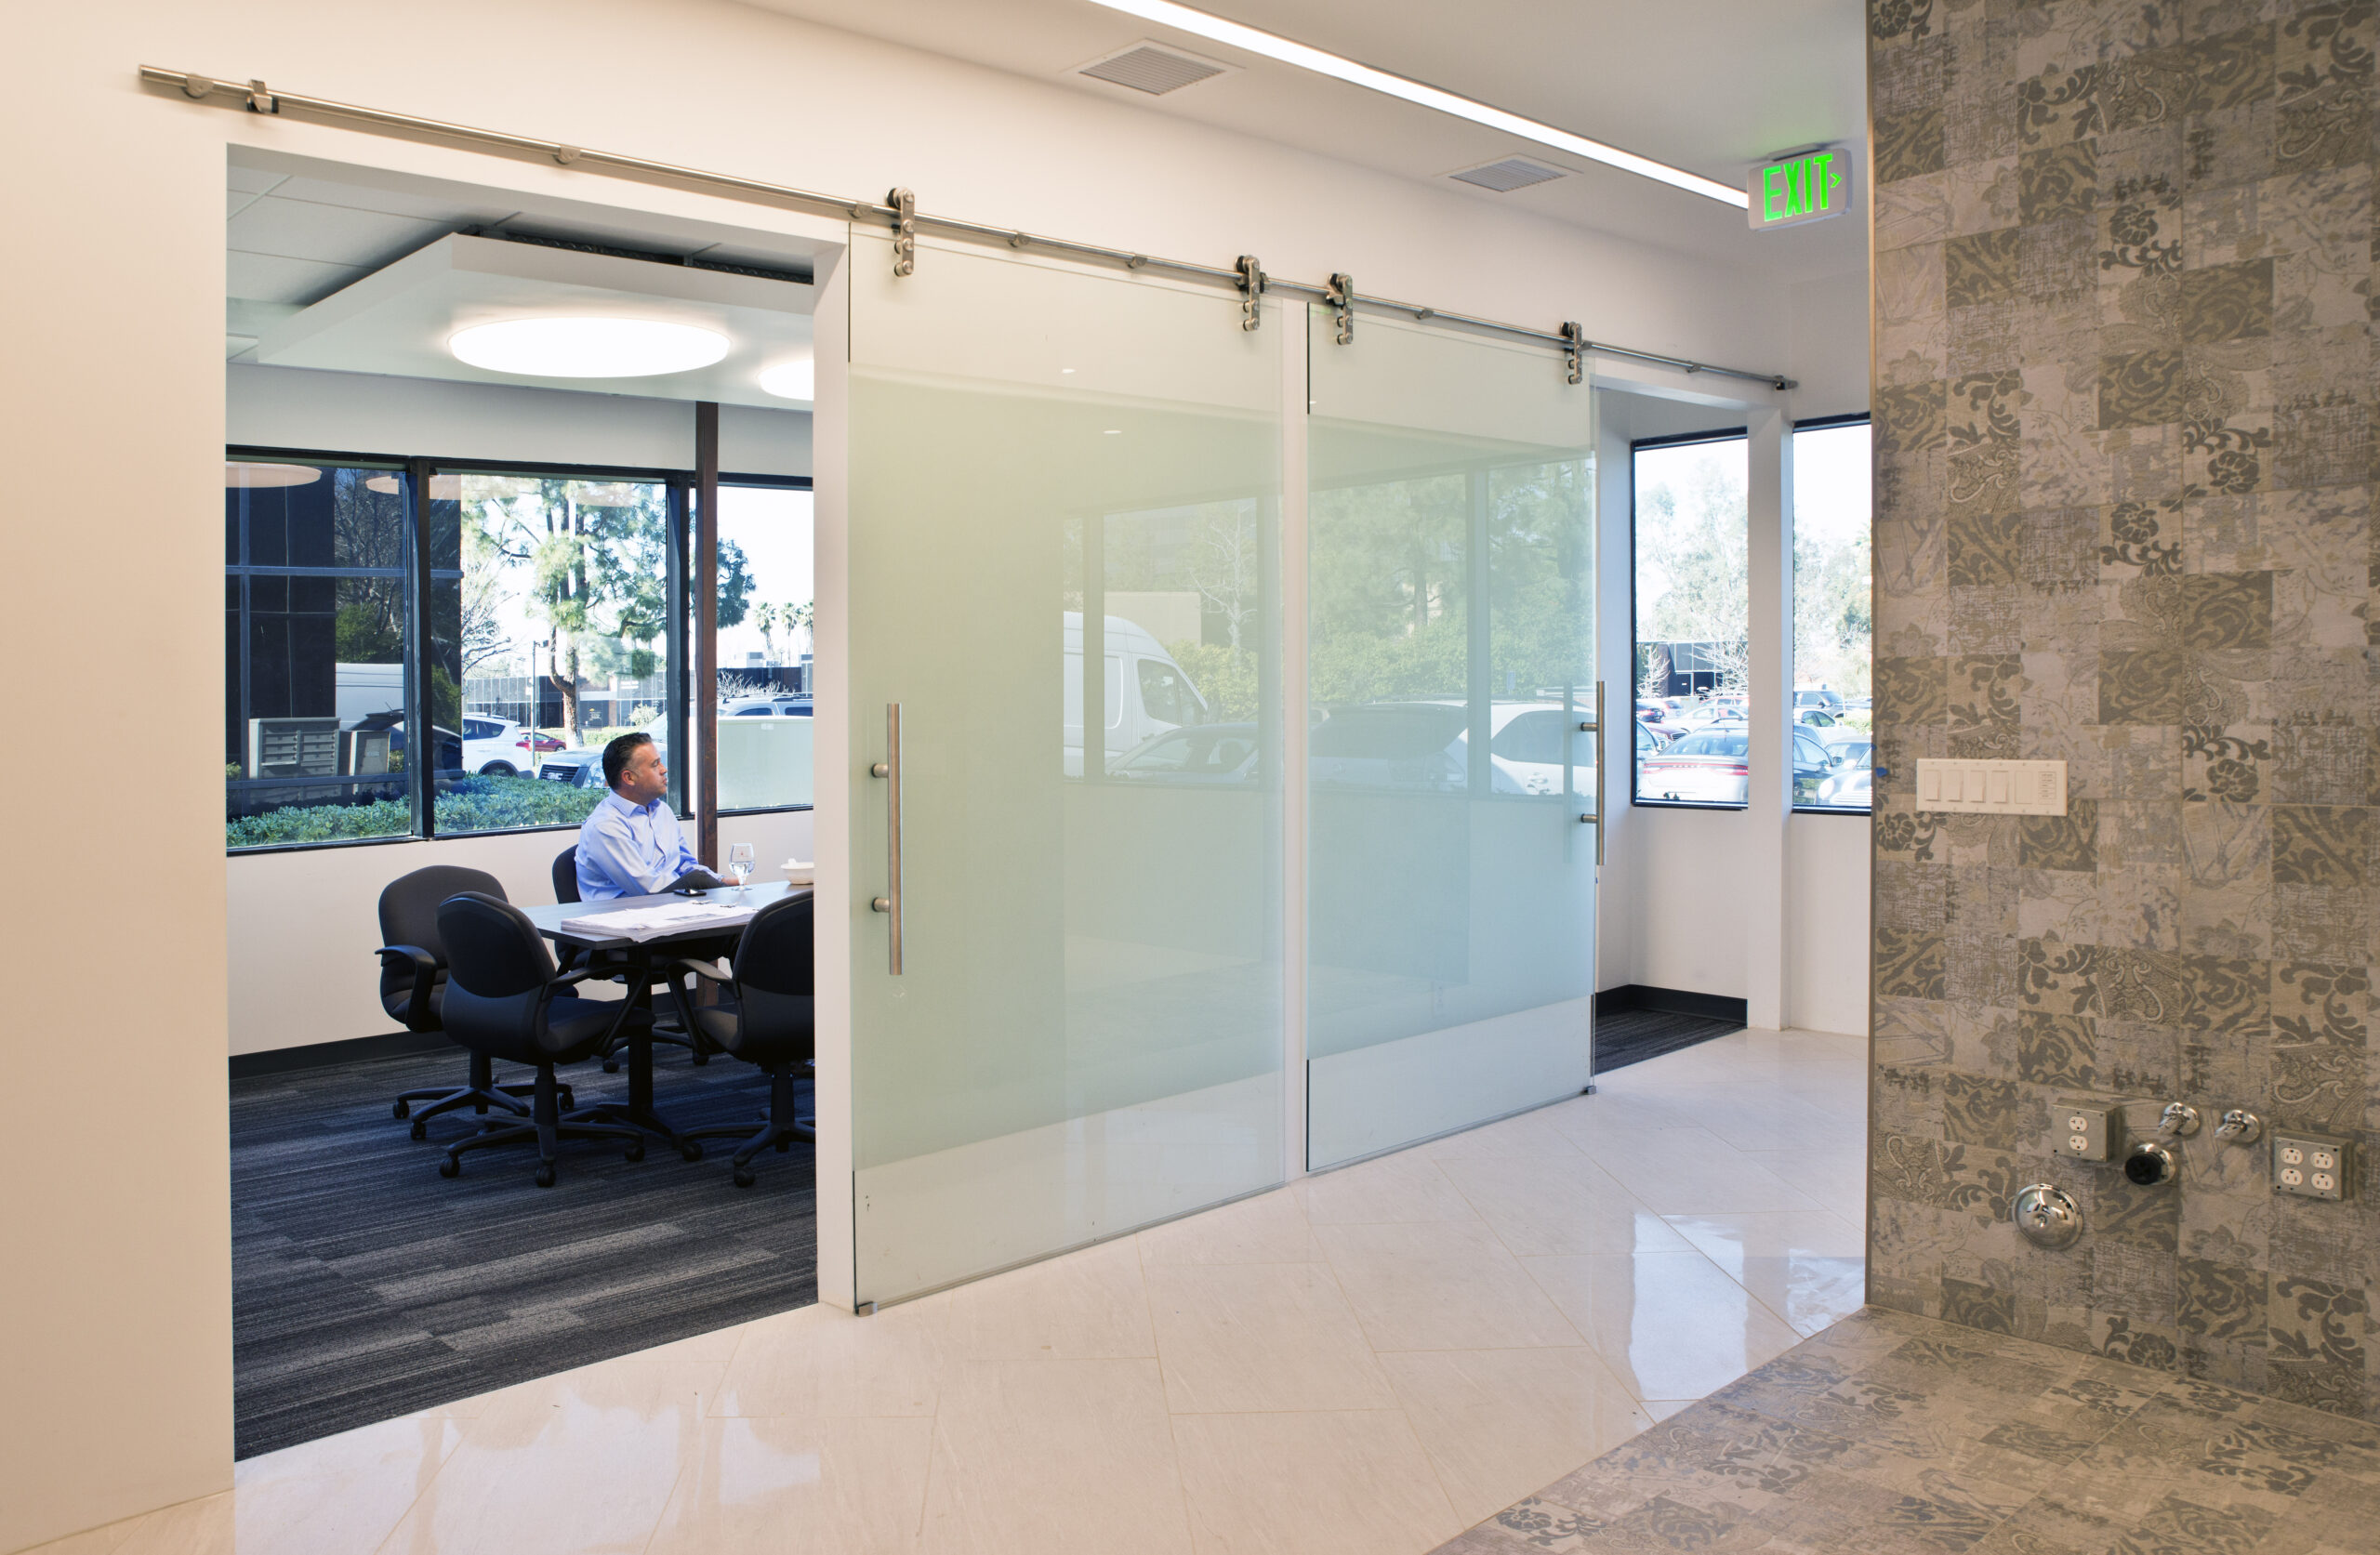
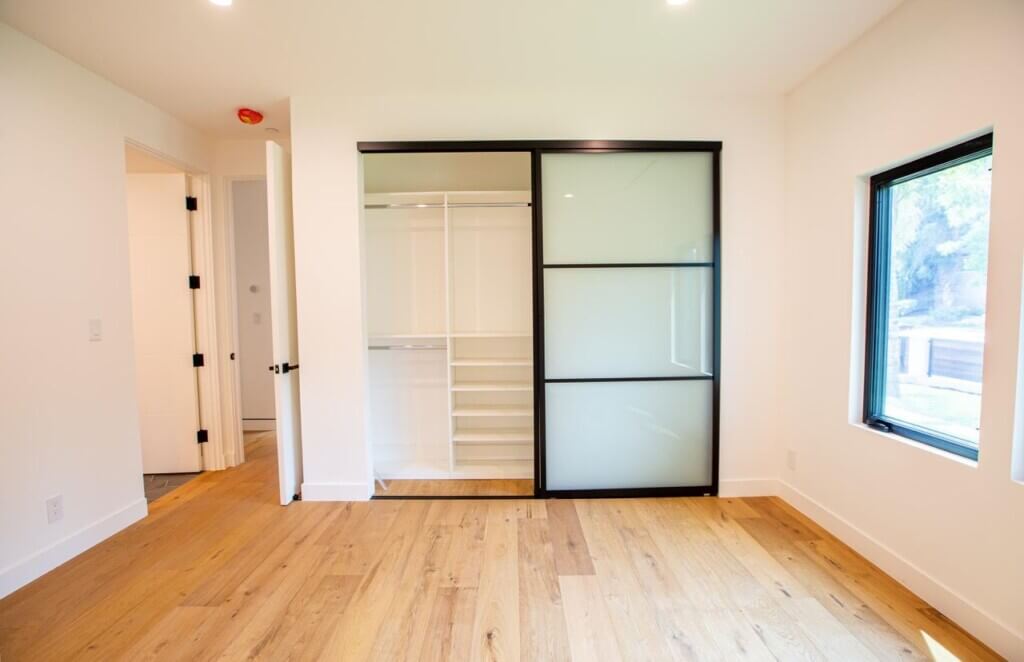
Sliding closet doors come in various designs and mechanisms, so it’s essential to identify the type you have before proceeding. The two most common types are top-hung and bottom-rolling doors.
Top-hung doors are suspended from an overhead track while bottom-rolling doors glide along a track at the bottom. Knowing the type of doors you have will help you understand how they are installed and how to approach their removal.
Step 3: Remove the Doors from the Tracks
For top-hung doors:
- Locate the anti-jump clips on the top track. These are small metal pieces that prevent the doors from jumping off the track accidentally.
- Use a screwdriver to remove the screws securing the anti-jump clips. Keep the screws in a safe place, as you’ll need them later.
- Once the anti-jump clips are removed, lift the doors slightly and tilt them to disengage them from the top track.
- Carefully lower the doors to the ground.
For bottom rolling doors:
- Slide the doors to one side to reveal the bottom rollers.
- Look for the adjustment screws on the bottom of the doors. These screws control the height of the rollers.
- Use a screwdriver to adjust the screws, raising the doors slightly to release them from the bottom track.
- Once the doors are lifted, carefully tilt them towards you, disengaging them from the bottom track.
- Gently lower the doors to the ground.
Step 4: Remove Trim and Molding
In some cases, sliding closet doors may have trim or molding around the frame. Removing this trim is essential for accessing the door frame and track. Follow these steps:
- Use a utility knife to cut through any paint or caulk along the edges of the trim.
- Insert a putty knife between the trim and the wall to loosen it.
- Carefully pry the trim away from the wall using a pry bar.
- If there are multiple pieces of trim, continue removing them until you expose the entire door frame.
Step 5: Unscrew the Door Frame
- With the trim removed, you can now access the screws holding the door frame in place. Follow these steps to unscrew the frame:
- Locate and remove the screws securing the door frame to the wall. These are usually found along the sides and top of the frame.
- Use a drill with a screwdriver bit for efficiency, but be cautious not to damage the surrounding wall.
- Keep track of the screws, as you’ll need them when reinstalling the doors or installing new ones.
Step 6: Carefully Remove the Door Frame
Once all screws are removed, gently pull the door frame away from the wall. It’s crucial to proceed with caution, especially if the doors are heavy. Enlist the help of a friend if needed.
If the frame is stuck, tap it lightly with a hammer or use a pry bar to loosen any adhesive or caulking. Take your time to avoid damaging the wall or the doors themselves.
Step 7: Patch and Repair
After successfully removing the sliding closet doors and frame, you may be left with holes or damage on the wall. Here’s how to patch and repair:
- Fill any holes or gaps in the wall with a spackle or joint compound.
- Use a putty knife to smooth the filler, ensuring it’s flush with the surrounding wall.
- Allow the filler to dry completely.
- Sand the patched areas to create a smooth surface.
- If necessary, touch up the paint to match the surrounding wall.
Step 8: Clean and Store the Doors
Before storing the doors, it’s essential to clean them thoroughly. Dust, dirt, and grime can accumulate during the removal process. Follow these steps to clean the doors:
- Wipe down the doors with a damp cloth to remove surface dust.
- Use a mild detergent or soapy water to clean any stubborn stains or marks.
- Allow the doors to dry completely before storing them.
If you plan to reuse the doors, store them in a dry and secure location to prevent damage.
Pro Tips and Warnings:
Pro Tips:
- Label Screws and Components: As you disassemble the sliding closet doors, consider labeling the screws and components with masking tape. This will help you stay organized and simplify the reinstallation process.
- Protect Flooring: Lay down a drop cloth or old sheets to protect your flooring during the removal process. This will prevent any potential damage from tools or debris.
- Check for Hidden Fasteners: Some sliding closet doors may have hidden fasteners or additional securing mechanisms. Take a moment to inspect the doors for any concealed elements that might need attention during removal.
- Secure Heavy Doors: If your sliding closet doors are particularly heavy, use caution and consider having a helper to avoid strain or accidents. Additionally, use sturdy supports when storing or transporting the doors to prevent warping.
- Inspect and Lubricate Tracks: While the doors are removed, take the opportunity to inspect and clean the tracks. Apply a silicone-based lubricant to ensure smooth operation when reinstalling the doors.
Warnings:
- Electrical Precautions: Be aware of the location of electrical outlets or wiring near the sliding closet doors. Exercise caution when using power tools to avoid electrical shock or damage.
- Protective Gear: Always wear appropriate safety gear, including safety glasses and work gloves, to protect yourself from potential injuries during the removal process.
- Wall Integrity: Check the integrity of the wall before removing the door frame. If the wall appears weak or damaged, consult with a professional before proceeding to avoid structural issues.
- Cautious Tapping: When tapping the door frame with a hammer, do so gently to avoid causing damage to the walls or the frame itself. Use controlled force to prevent unnecessary impact.
- Secure Tools: Keep all tools and materials secure and within reach. Avoid leaving tools on elevated surfaces, as they may fall and cause injury.
By incorporating these pro tips and heeding the warnings, you’ll enhance the efficiency and safety of the sliding closet door removal process.
Conclusion:
Removing sliding closet doors may seem like a daunting task, but with the right tools and a systematic approach, it can be a manageable DIY project. By following this comprehensive guide, you’ll be able to successfully remove your sliding closet doors, whether for maintenance, replacement, or a change in decor. Now that you’ve successfully removed your sliding closet doors, you’re ready to explore new design possibilities and enjoy the versatility of your space. Good luck with your project!