


Sliding closet doors not only enhance the aesthetic appeal of your living space but also provide functional benefits, maximizing storage efficiency. Installing these doors might seem like a daunting task, but with the right guidance, you can transform your closet effortlessly. In this in-depth guide, we’ll walk you through the entire process, from assessing your closet space to troubleshooting common issues. Follow our step-by-step instructions to achieve a professional-looking installation.
1. Assessing Your Closet Space and Needs
Before diving into the installation process, it’s crucial to assess your closet space and determine your specific needs. Measure the dimensions of the closet opening accurately, taking both width and height into account. Consider the space available around the closet, ensuring that the sliding doors won’t obstruct other furniture or pathways.
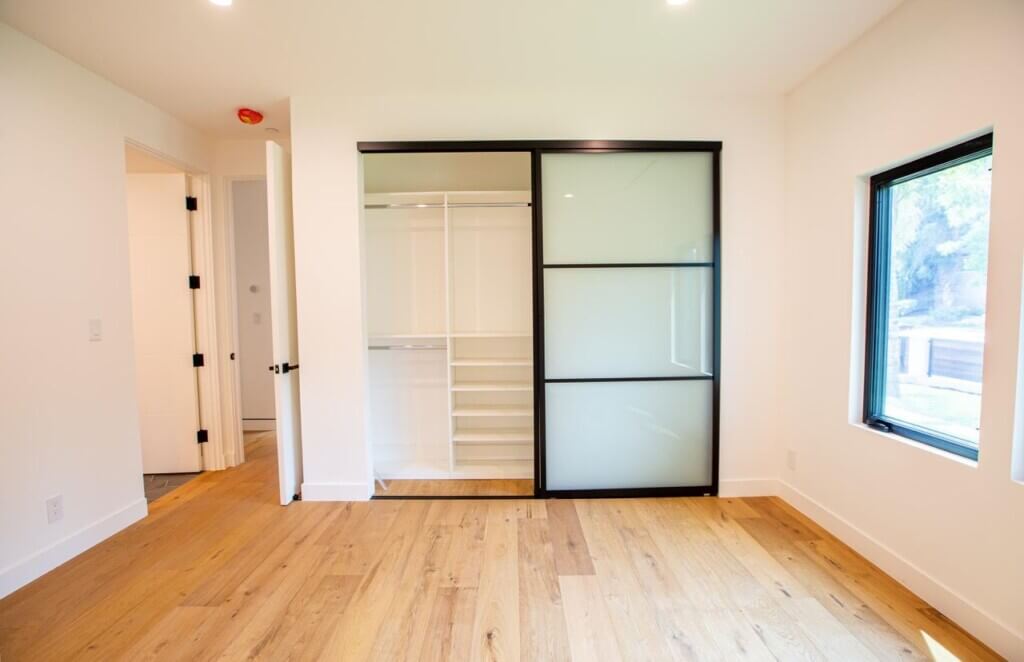
Additionally, evaluate the contents of your closet. If you have a spacious walk-in closet, you may opt for larger doors or even mirrored panels to create a more expansive feel. For smaller closets, space-saving solutions like bi-fold doors or mirrored sliding doors can be more suitable.
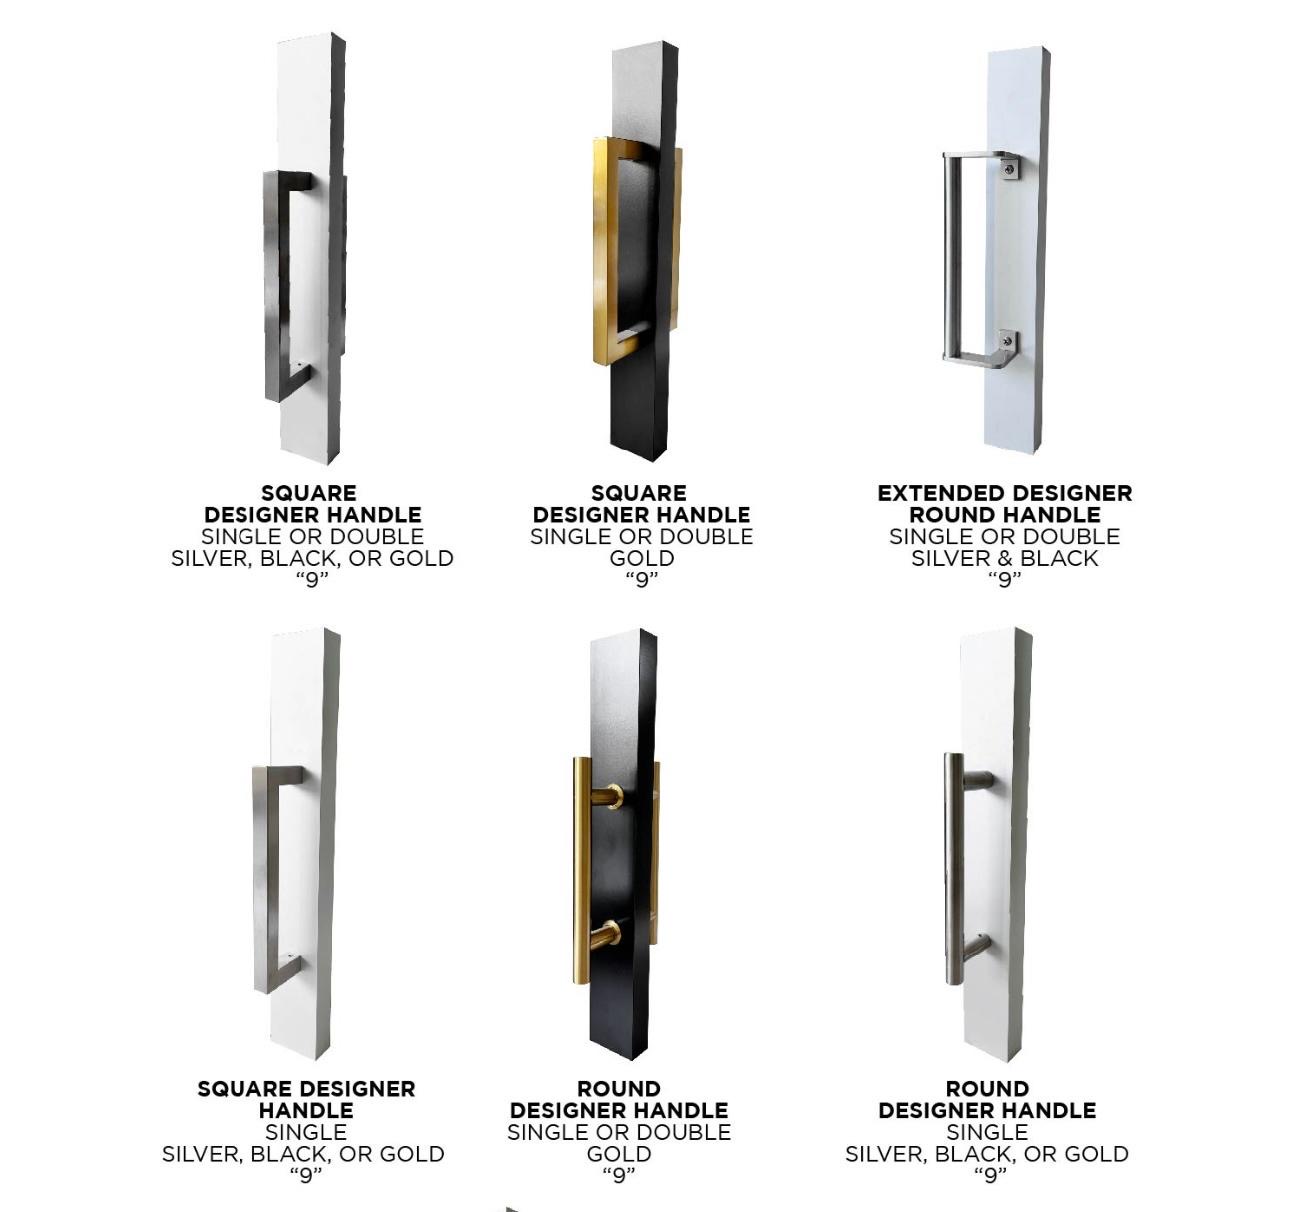
2. Choosing the Right Type of Sliding Closet Doors
Selecting the appropriate type of sliding closet doors depends on your preferences, available space, and budget. Here are some popular options:
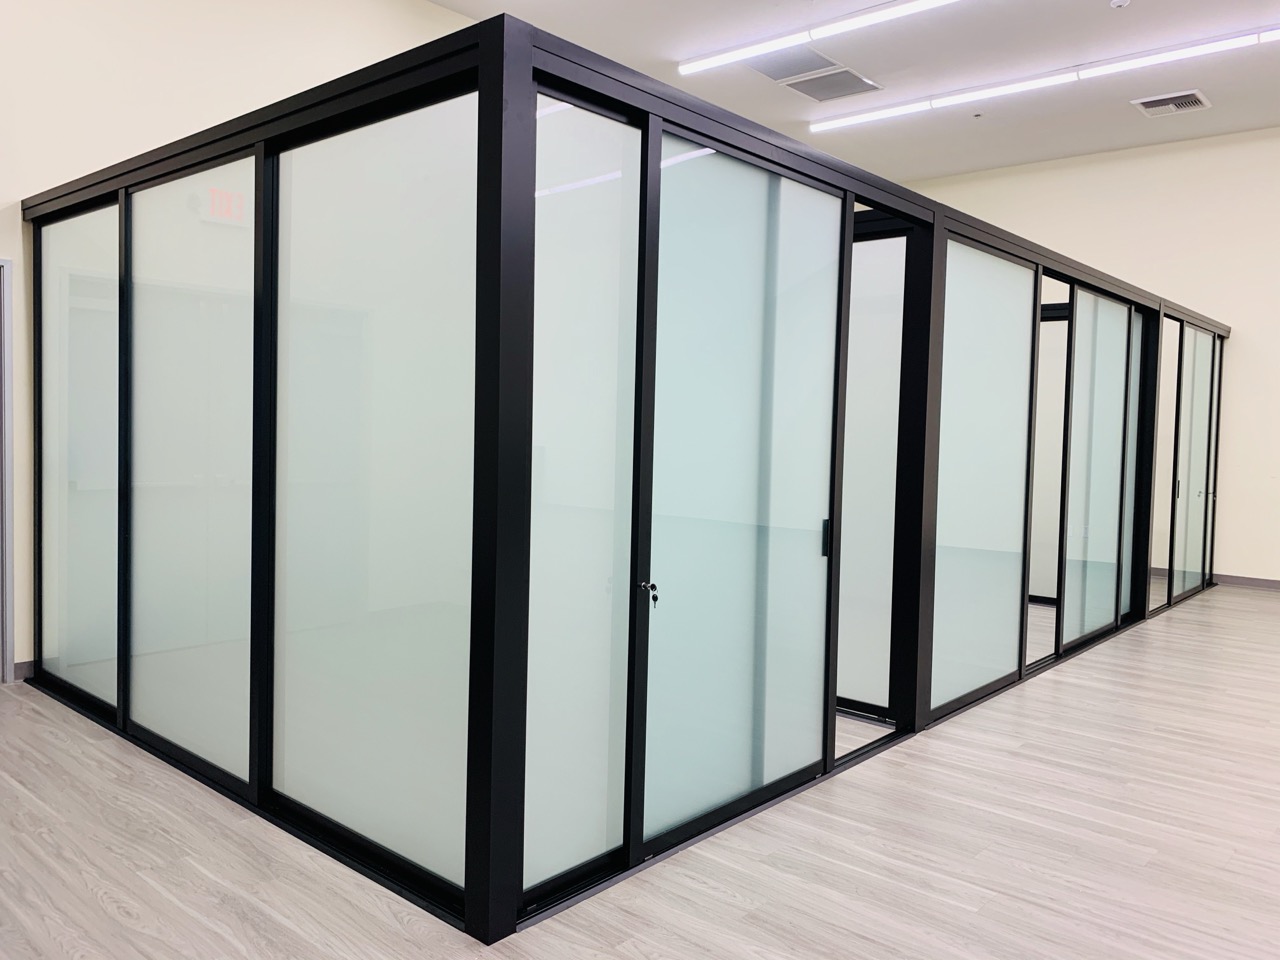
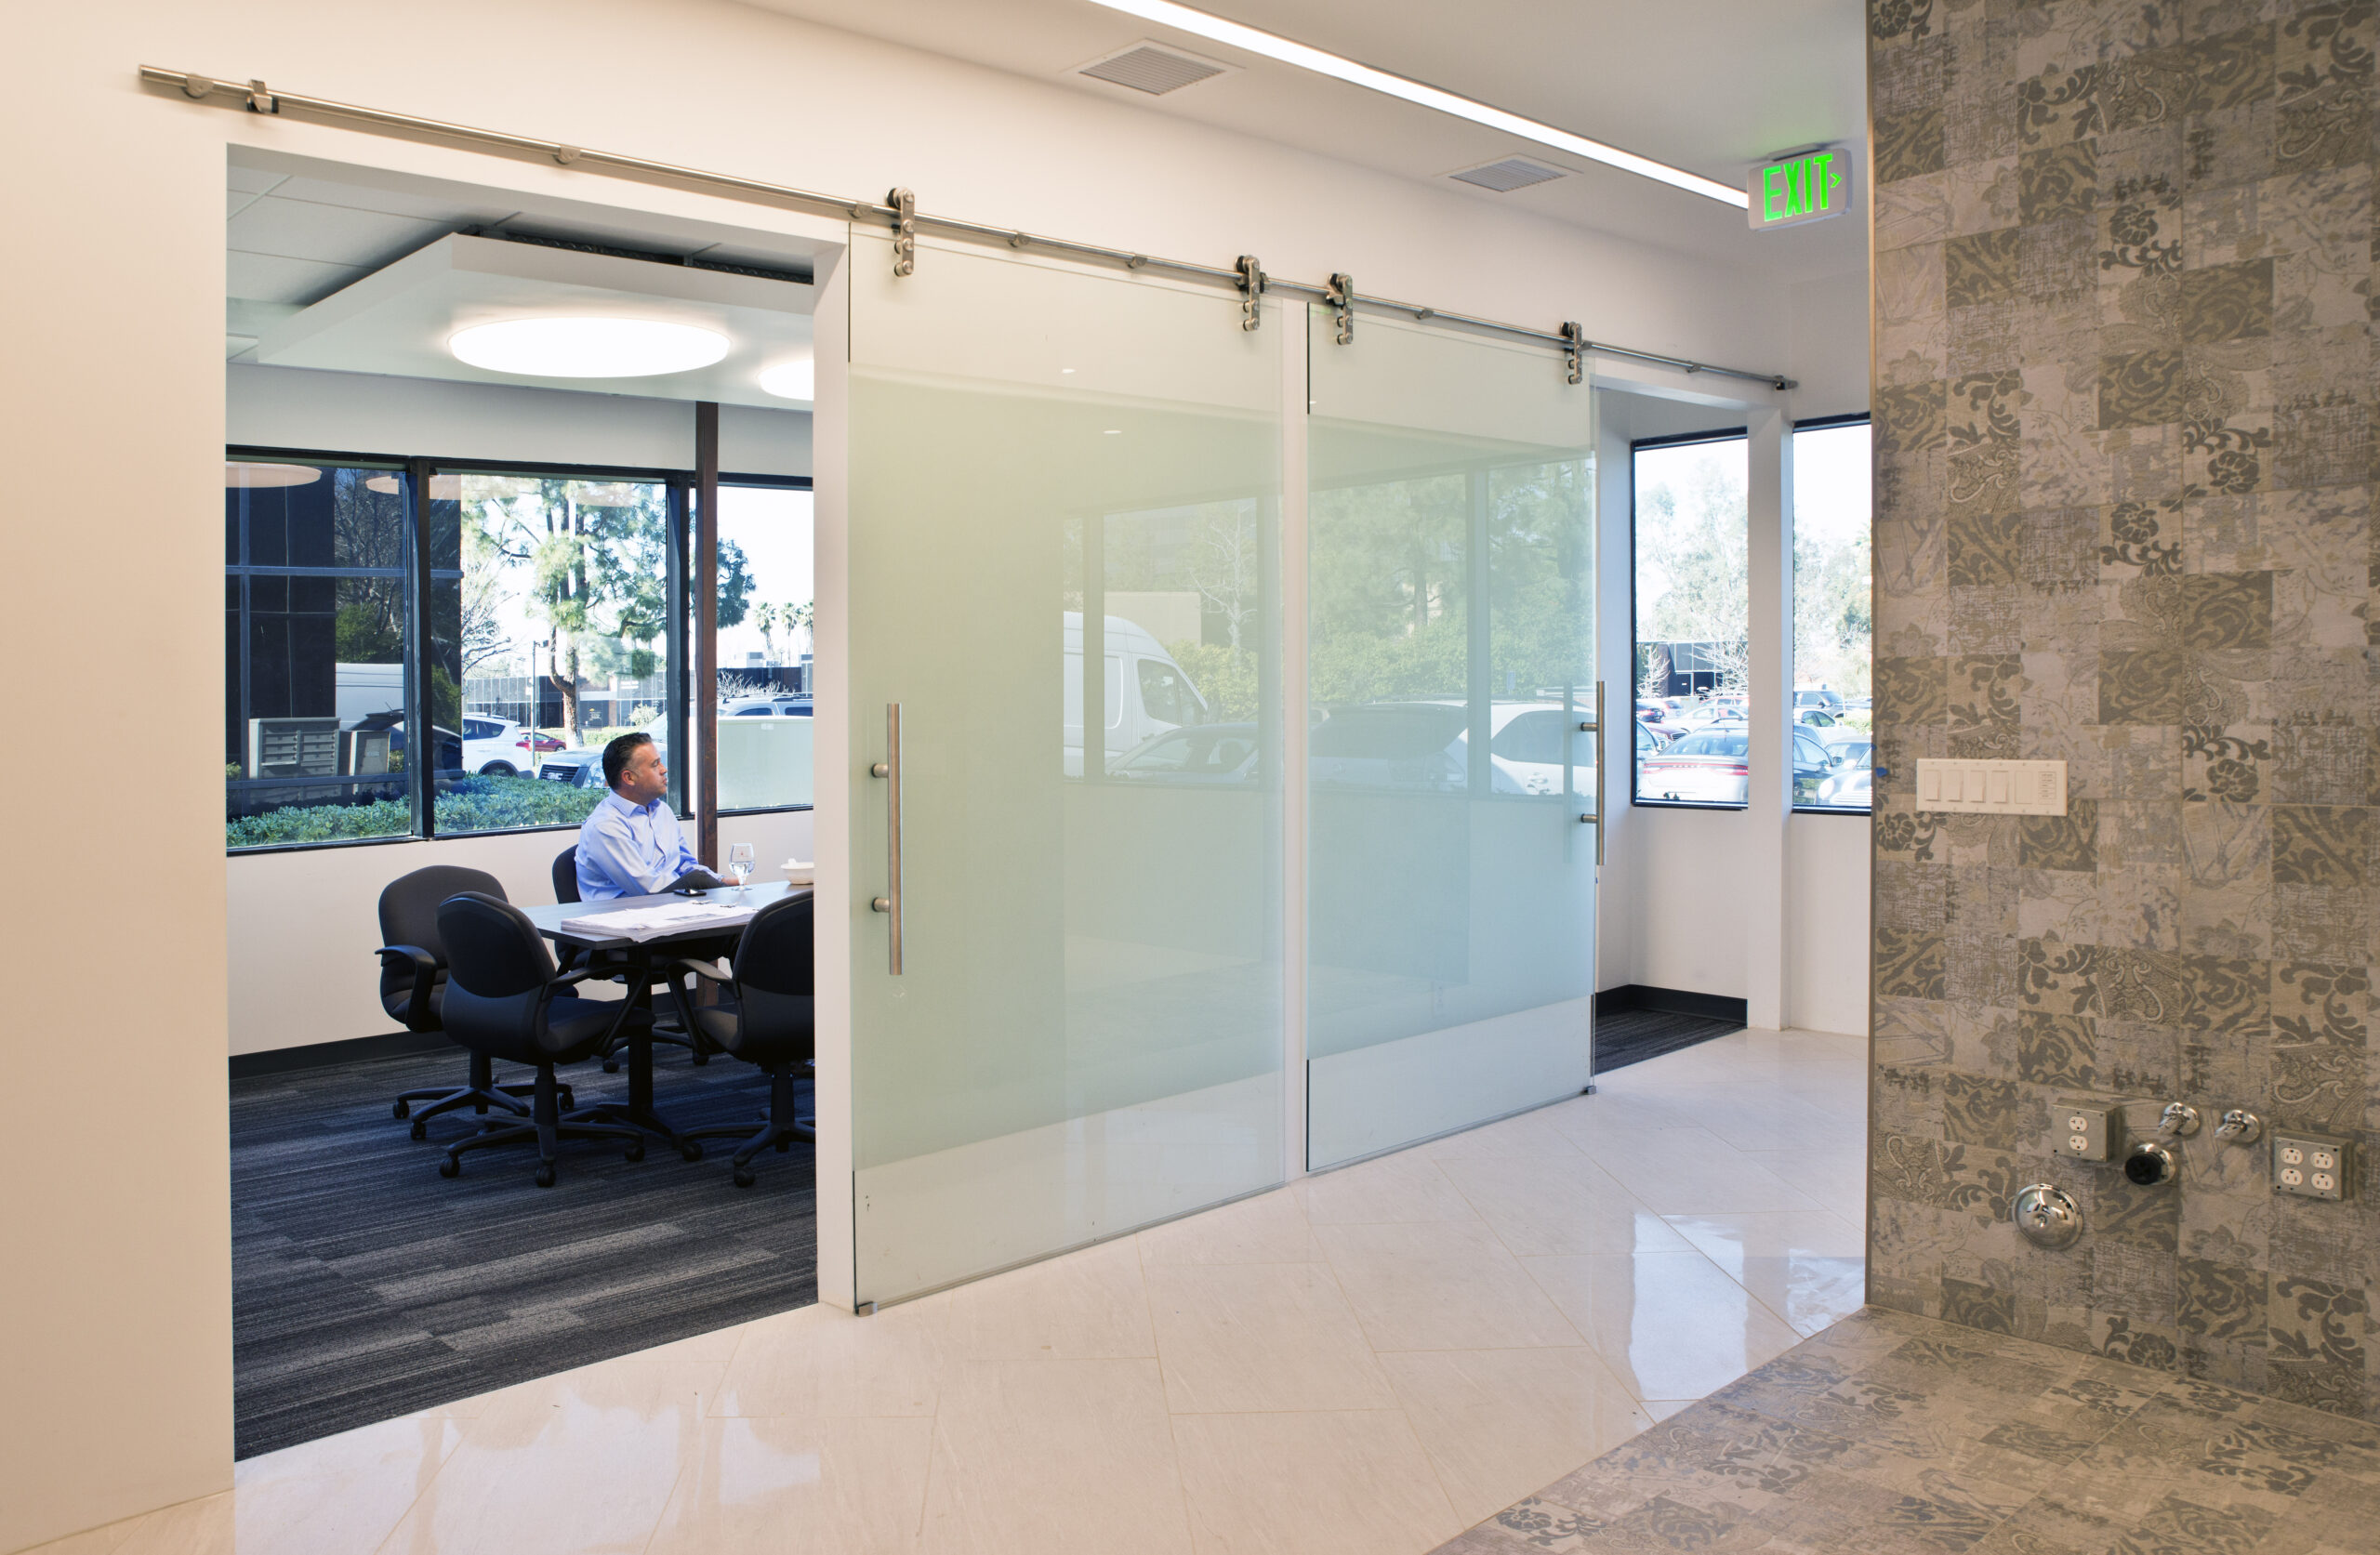
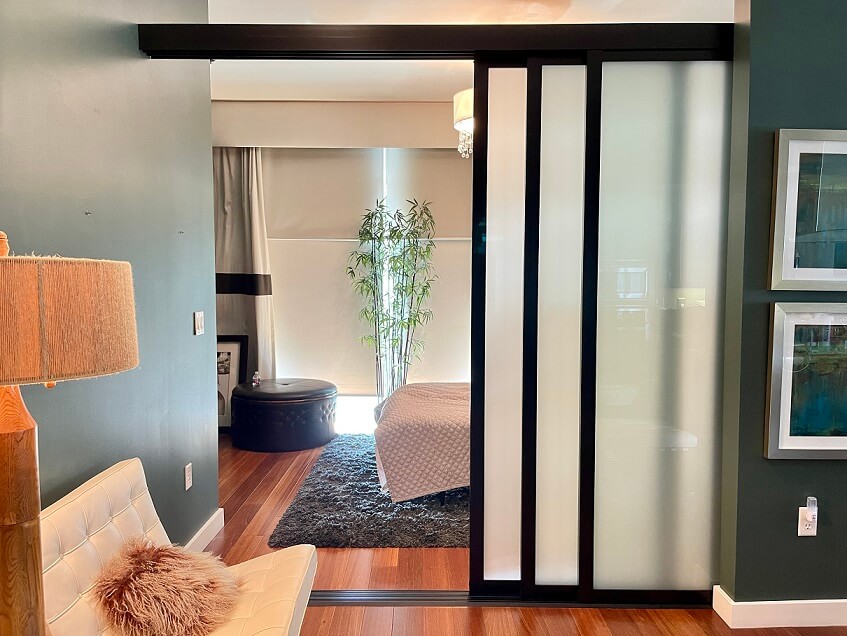
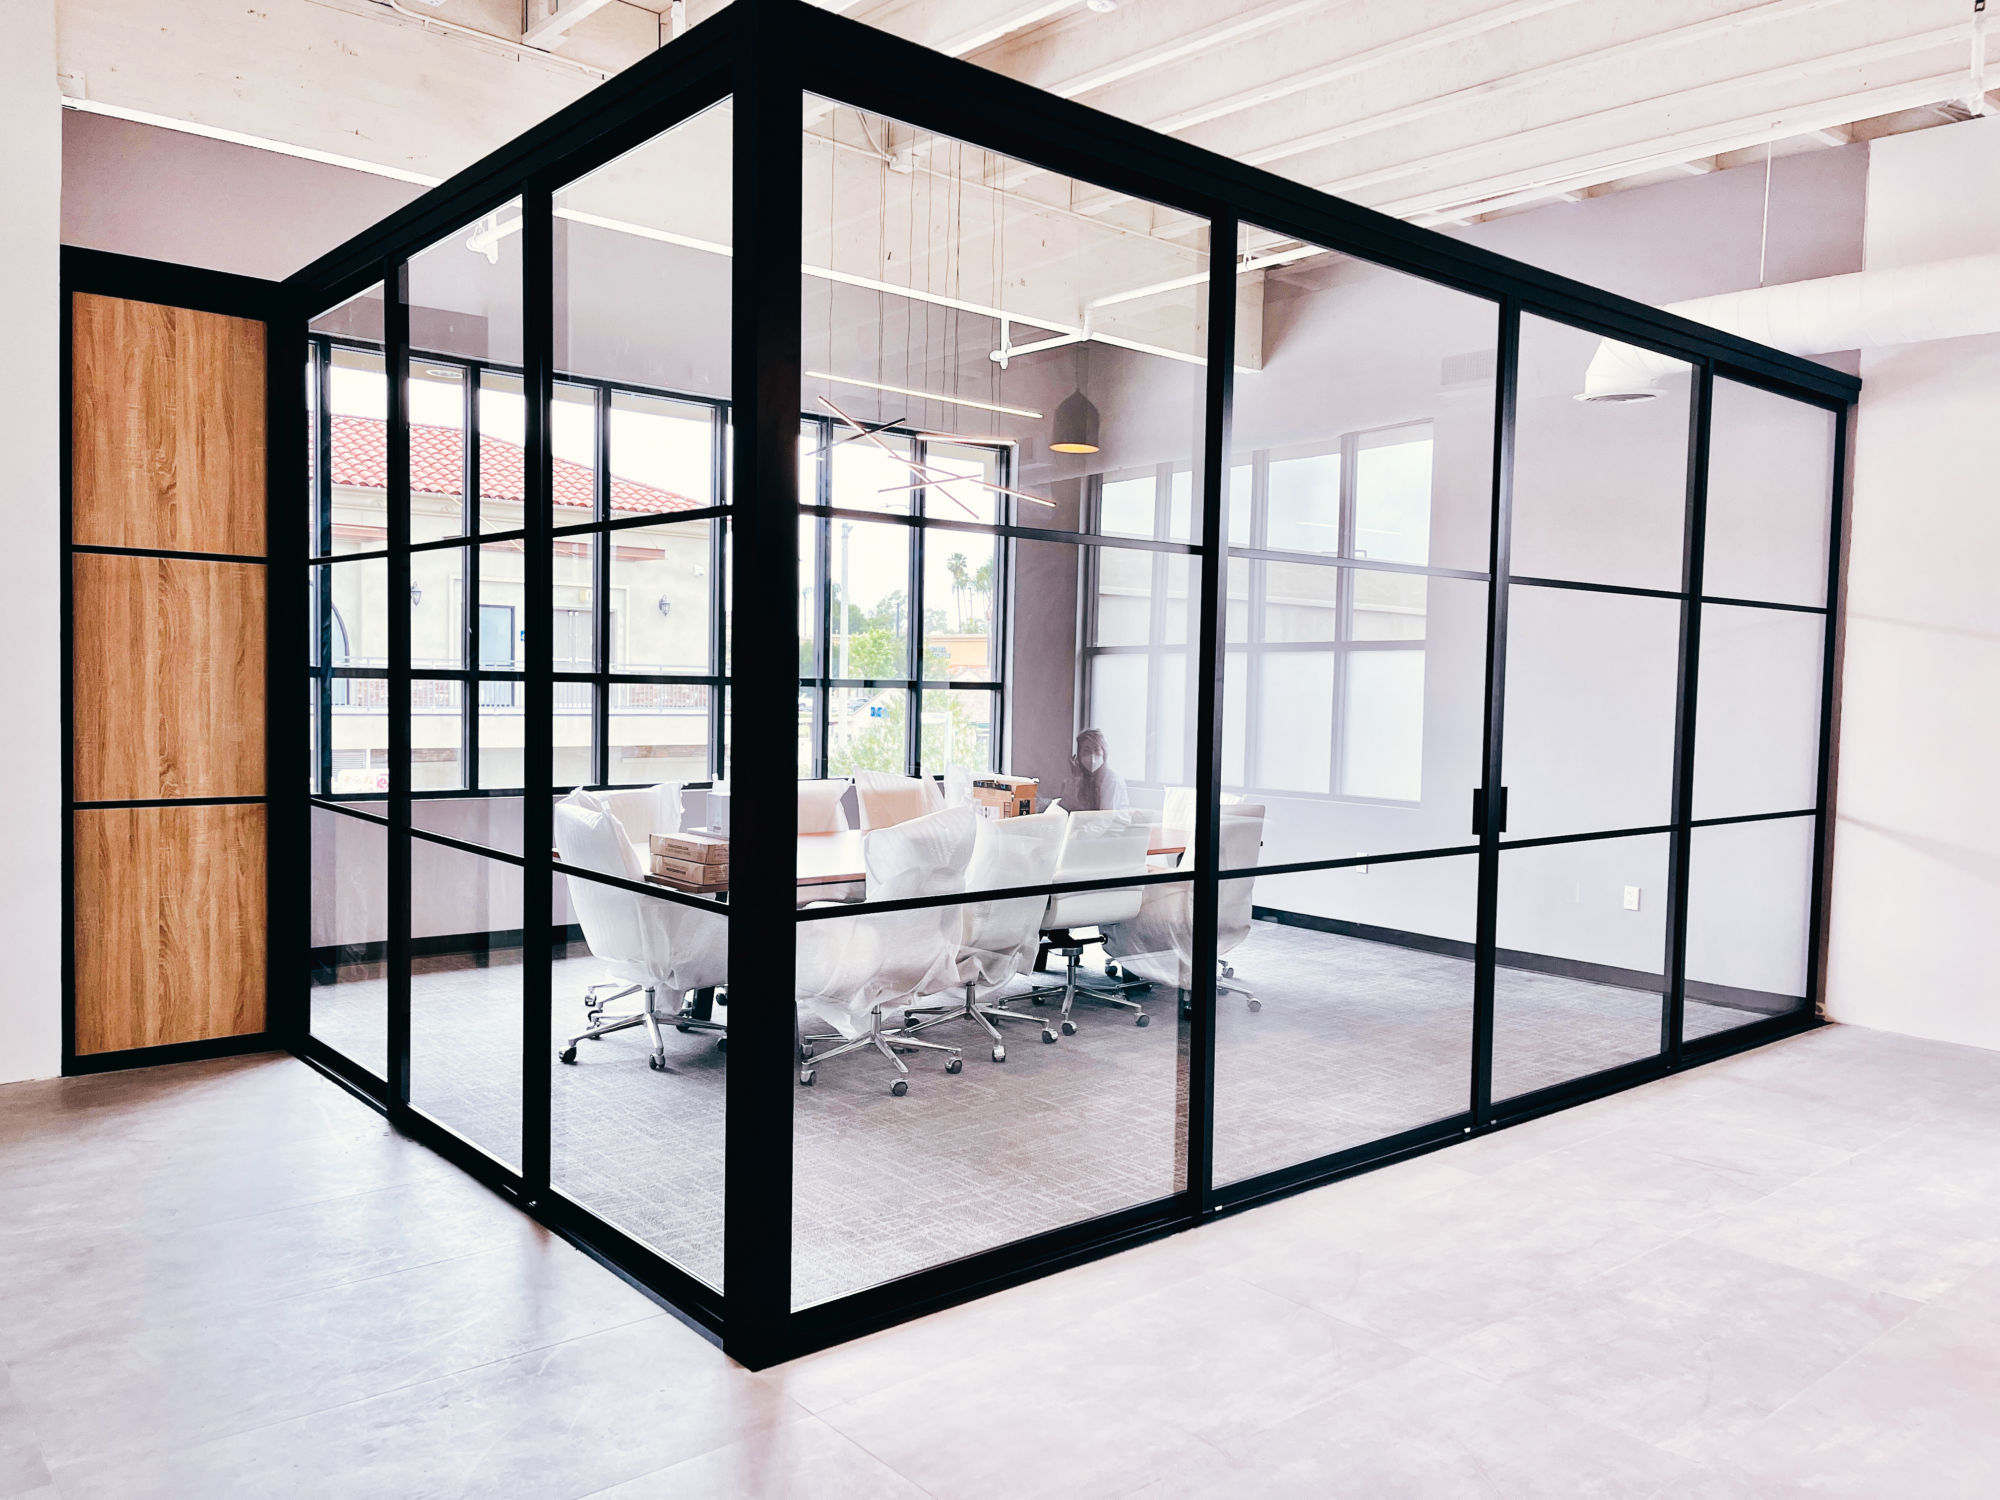
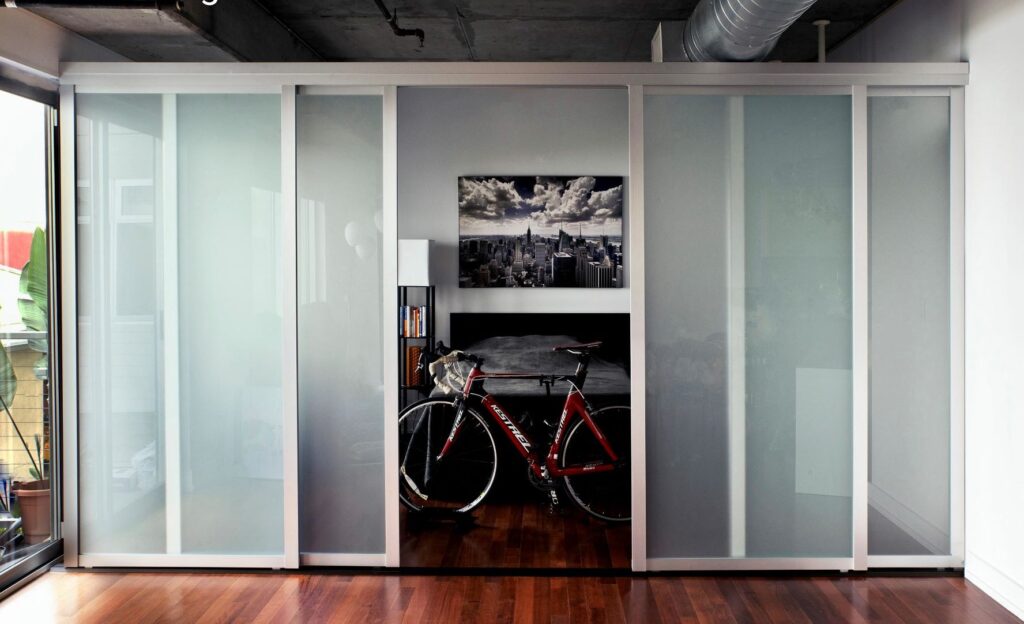
Traditional Sliding Doors: These doors consist of two panels that slide past each other on tracks. They are a classic choice and work well for most closet sizes.
BiFold Doors: Bifold doors fold in the middle, allowing for partial or full access to the closet. They are ideal for smaller spaces where a swinging door might be impractical.
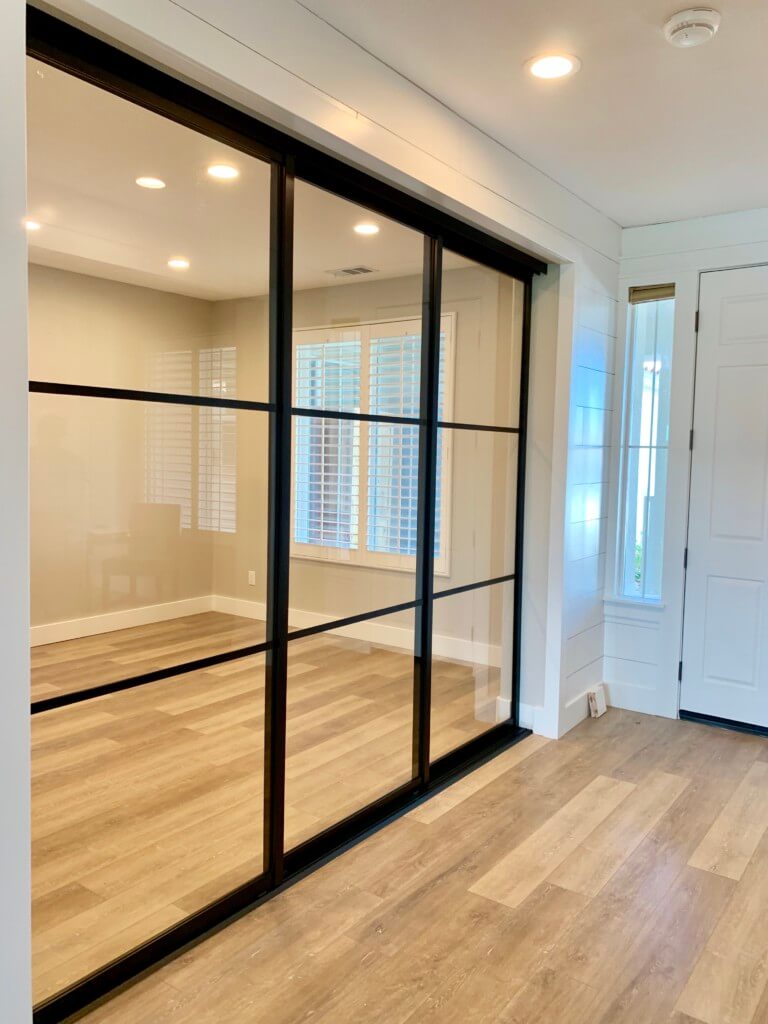
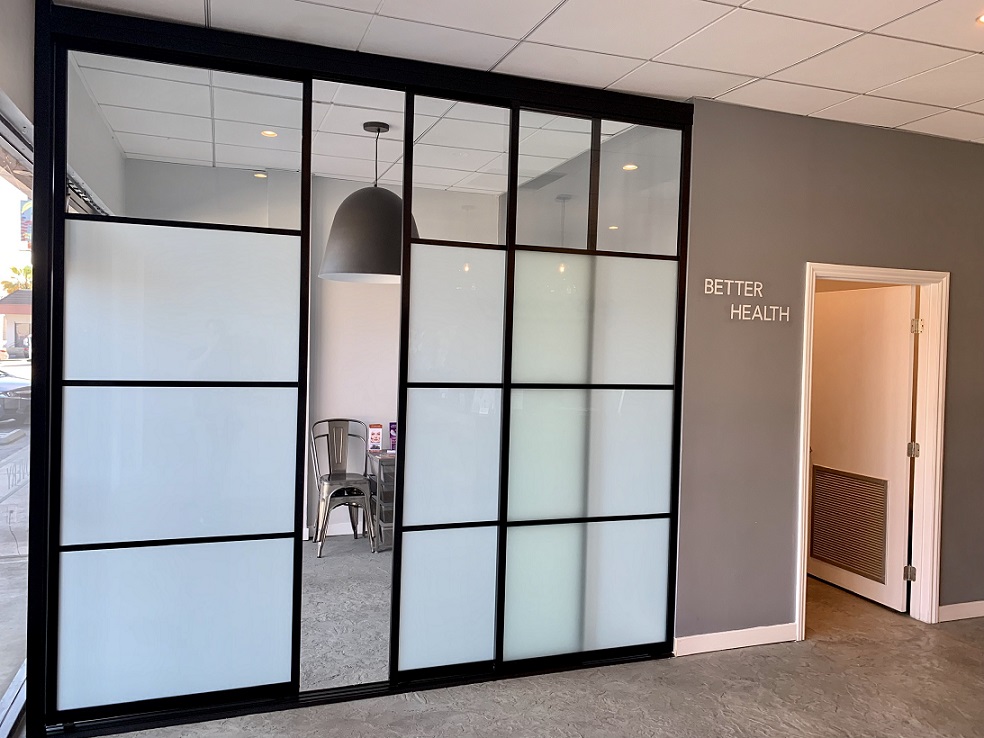
Mirrored Sliding Doors: Mirrored panels add depth to your room and can make smaller spaces appear larger. They also serve a functional purpose, eliminating the need for a separate mirror.
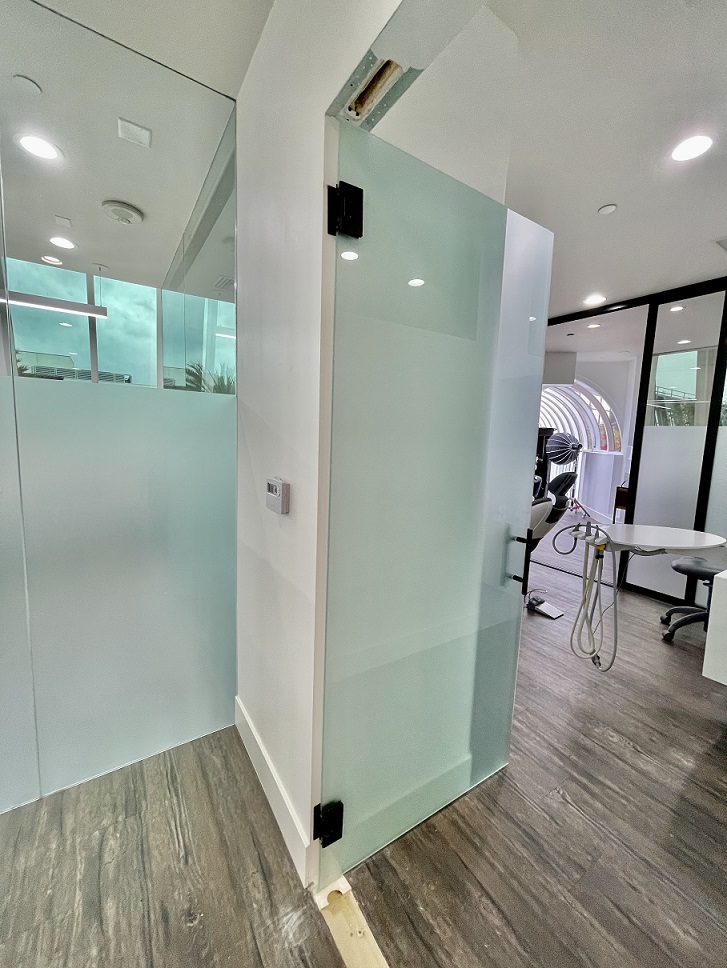
Pocket Doors: For those looking to maximize space, pocket doors slide into the wall, completely hiding from view when open. However, installation can be more complex.
Consider factors such as aesthetics, functionality, and available space when making your decision.
3. Preparing the Installation Area
Preparing the installation area is a crucial step that ensures a smooth and efficient installation process. Follow these steps:
Clear the Closet: Remove all items from the closet to provide ample space for the installation. This will also prevent any damage to your belongings during the process.
Inspect the Closet Opening: Check the condition of the closet opening. Repair any damages to the frame or walls before proceeding with the installation.
Ensure a Level Surface: Use a level to ensure that the closet opening is perfectly level and plumb. This step is vital to prevent issues with the sliding doors later on.
4. Gathering the Necessary Tools and Materials
Having the right tools and materials is essential for a successful installation. Here’s a comprehensive list to ensure you’re well-prepared:
Tools:
- Screwdriver
- Power drill
- Measuring tape
- Level
- Pencil
- Hacksaw (for cutting tracks if necessary)
- Stud finder
Materials:
- Sliding closet door kit
- Screws
- Wall anchors (if needed)
- Shims
- Wood filler (for any gaps)
- Paint or finish (to match the closet)
Before starting the installation, carefully read the manufacturer’s instructions that come with the sliding door kit to ensure you have all the necessary components.
5. Step-by-Step Installation Process
Now that you’ve prepared the space and gathered the tools and materials, it’s time to proceed with the installation. Follow these step-by-step instructions:
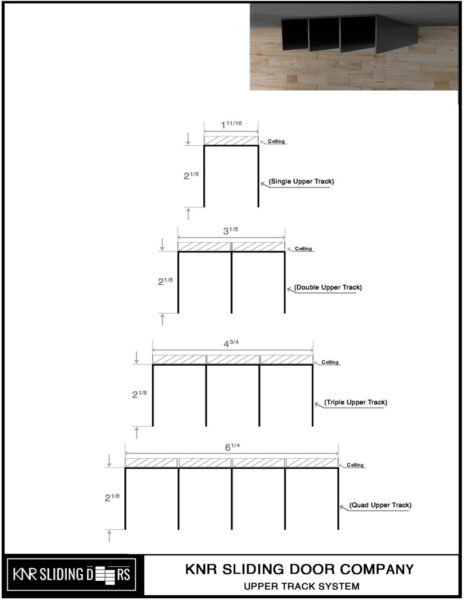
Step 1: Install the Tracks
1. Mark the Track Placement: Using a pencil and a level, mark the placement of the upper and lower tracks on the closet frame. Ensure that the tracks are level and parallel.
2. Attach the Upper Track: Secure the upper track to the closet frame using screws. If possible, screw directly into the studs for added stability. Use a level to double-check that the track is perfectly horizontal.
3. Install the Lower Track: Similarly, attach the lower track, making sure it is level and parallel to the upper track. Use shims if necessary to correct any unevenness in the floor.
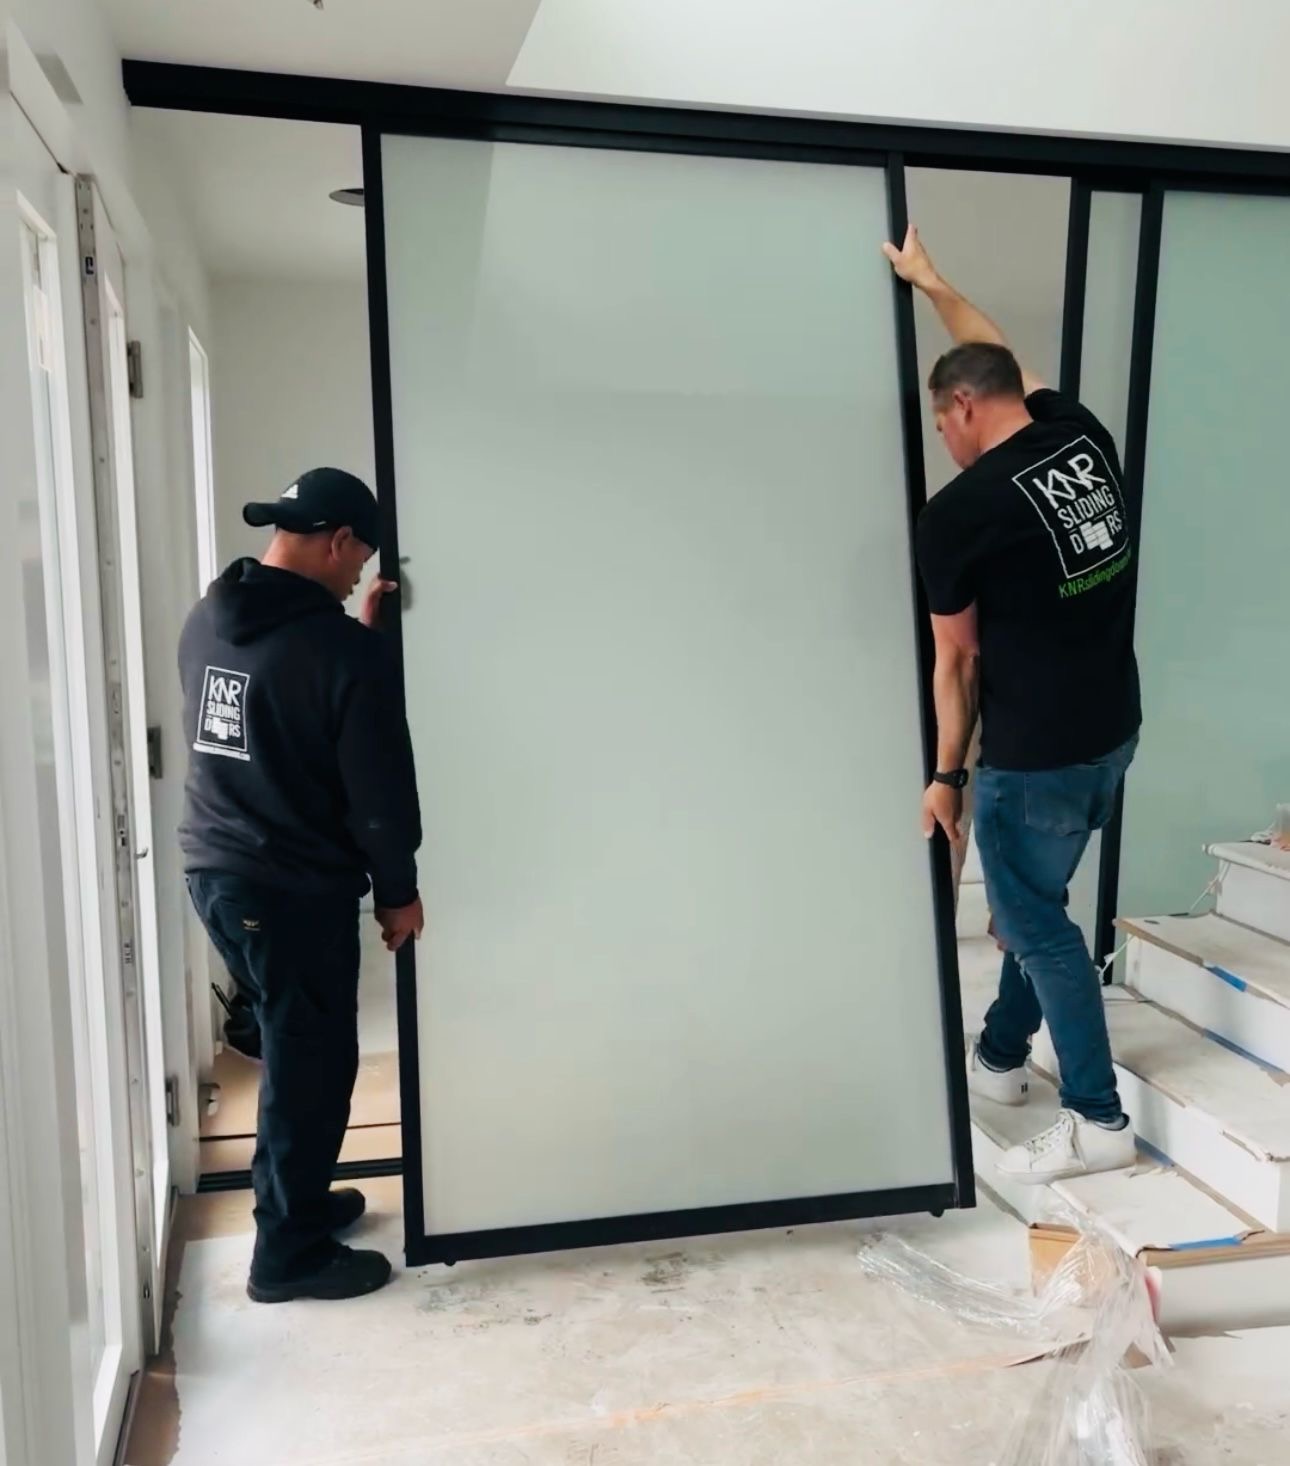
Step 2: Mount the Door Panels
1. Attach Rollers to the Doors: Following the manufacturer’s instructions, attach the rollers to the top edge of each sliding door panel.
2. Hang the Doors: Lift the doors onto the upper track, making sure the rollers fit securely into the track. Test the doors to ensure they slide smoothly.
3. Adjust Rollers if Necessary: Most sliding door kits come with adjustable rollers. Use a screwdriver to make any necessary adjustments to ensure the doors slide effortlessly without sticking.
Step 3: Install Door Guides
1. Attach the Floor Guide: Install the floor guide on the center of the closet floor, ensuring it aligns with the space between the sliding doors. This prevents the doors from swinging out of alignment.
2. Adjust the Guides: Follow the manufacturer’s instructions to adjust any additional guides included in the kit. Properly adjusted guides ensure that the doors remain stable and aligned during use.
Step 4: Final Adjustments
1. Check for Smooth Operation: Test the sliding doors to ensure they open and close smoothly. Make any final adjustments to the rollers or guides as needed.
2. Secure the Tracks: Once you are satisfied with the door operation, secure the tracks firmly to the closet frame using additional screws.
3. Fill Screw Holes and Paint (Optional): If the screws are visible, use wood filler to fill the holes. After the filler dries, sand the surface and touch it up with paint or finish to match the closet.
6. Tips for Maintaining and Troubleshooting Sliding Closet Doors
Maintenance Tips:
Regular Cleaning: Clean the tracks and rollers regularly to prevent debris buildup that can affect smooth operation.
Lubrication: Apply a silicone-based lubricant to the rollers and tracks periodically to ensure the doors slide effortlessly.
Inspect and Tighten Screws: Check the screws and hardware for any signs of loosening. Tighten them as needed to maintain stability.
Address Damages Promptly: If you notice any damage or issues with the doors, address them promptly to prevent further complications.
Troubleshooting Common Issues:
Doors Not Sliding Smoothly: If the doors are sticking or not sliding smoothly, check for debris in the tracks. Clean the tracks thoroughly and lubricate the rollers.
Misalignment: If the doors become misaligned, adjust the rollers or guides to ensure they are level and parallel.
Squeaking Noises: Squeaking noises may indicate friction between the doors and tracks. Lubricate the rollers and tracks to eliminate the noise.
Dragging or Uneven Movement: Uneven movement may result from an uneven floor. Use shims to level the lower track if needed.
7. Conclusion
Installing sliding closet doors is a rewarding project that can enhance both the functionality and aesthetics of your living space. By carefully assessing your closet space, choosing the right doors, and following our detailed installation guide, you can achieve professional results.
Remember to gather all the necessary tools and materials, prepare the installation area, and follow the step-by-step process outlined in this guide. Regular maintenance and prompt troubleshooting can ensure the longevity and smooth operation of your sliding closet doors.
However, if you find the process too challenging or time-consuming, don’t hesitate to seek professional help. KNR Sliding & Glass Doors offers expert installation services to transform your closet space hassle-free.